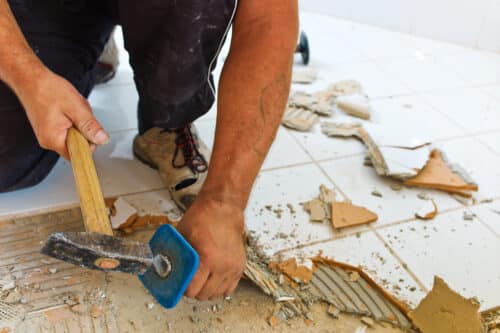
One way to save that doesn’t require too much-advanced skill is to do the demolition on your own. Keep reading to get our tips and tricks for a successful process.
How to Prep Your Space for Demolition
- The first step is very important–turn off the electricity to your kitchen at your breaker box. It’s also a good idea to also put a piece of tape over the switch, so no one mistakenly turns it on while you’re working. Now is also a good time to turn off gas and water.
- Cover your floor with a drop cloth.
- Rent your equipment: useful items include a dolly for moving heavier items and a dumpster. For a project like this, a ten-yard dumpster is usually best.
After you prep your space, it’s time to start removing your old fixtures and appliances.
- Garbage Disposal: Loosen the compression nut with channel lock pliers, and the disposal unit should fall right off. Make sure someone is waiting to catch it!
- Sink: Using a utility knife, cut the silicone bead at the edge of the sink that holds it onto the counter. Place wooden 2 x 4s under the edges of the sink while you loosen it. Next, use a hammer or pry bar to lift the sink out of the counter.
- Cabinets: First, remove everything from inside the cabinets, and remove the doors and drawers. You can either reuse the cabinets in another area or donate them to a charity. If that’s the case, make sure you label each door and drawer for reassembly. Tape the screws to the hinges, and pry the cabinet off of the wall.
- Countertops and Backsplashes: Pry countertops and tiles from the backsplash, or use a saw to cut the countertops into chunks.
Do it Yourself and Save Money
Renting a dumpster to overhaul your home remodeling is a great way to save on the total cost of your project. Plus, it’s easy to do, and it can even be fun!